Your Trusted Home Repair & Maintenance Experts in Bengaluru
• Water Purifier Services • Plumbing • Electrical • Carpentry • Waterproofing • Renovation • Washing Machine
Request Callback
Please Complete The Form
Dial4Help services Bengaluru
Dial4Help is Bengaluru’s most trusted home repair and maintenance service provider. With certified technicians, transparent pricing, and guaranteed solutions, we help homeowners and businesses fix problems quickly and professionally.

We're here to help! Call Us Today!
Our Services

Water Purifer Services
RO repair, filter replacement, installation, AMC services.
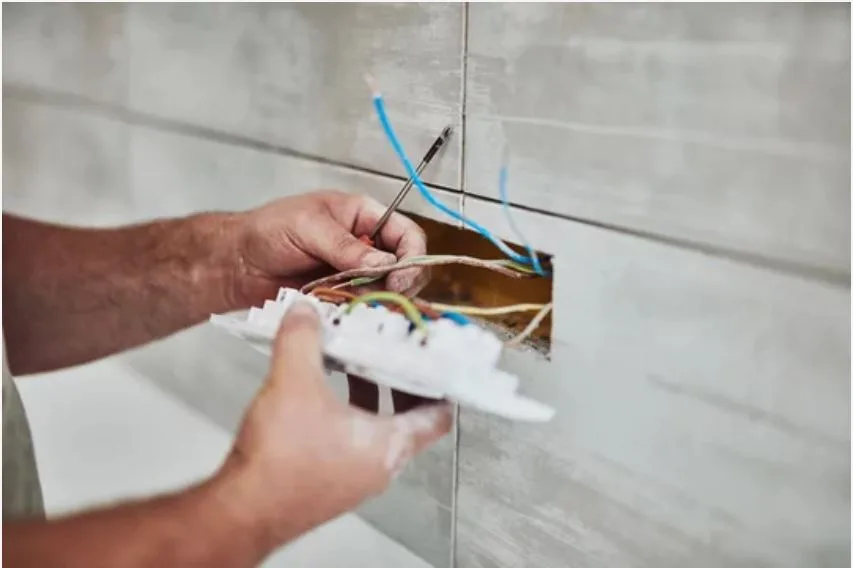
Electrical Services
Wiring, switchboard repair, lighting installation, electrical troubleshooting.
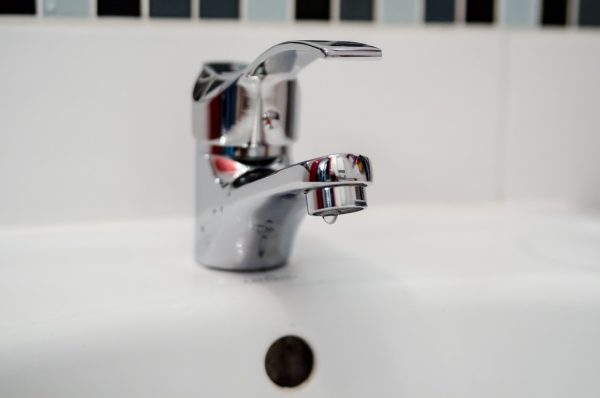
Plumbing Services
Leak repair, bathroom fittings, pipe installation, blockage clearing.

Building Repairs
Crack sealing, structural repair, wall plastering, tile fixing.

Renovation Services
Civil work, remodeling, painting, flooring, kitchen renovation.

Waterproofing Services
Bathroom waterproofing, terrace coating, wall seepage control.
Why Choose Dial4help?
Choosing the right service partner matters — and at Dial4Help, we make sure your home, office, or industrial space gets the best quality service, every single time. With skilled professionals, transparent pricing, and a commitment to excellence, we stand out as Bengaluru’s most trusted repair and maintenance service provider.
Safe & Secure
Verified & trained technicians
24x7 Support
Round-the-clock assistance for emergencies.
Low Cost
Affordable pricing without compromising on quality or reliability.
Residential Services
Get fast, reliable home repair experts at your doorstep anywhere in Bengaluru. Just call Dial4Help or schedule your service online.
Commercial Services
Powering offices, shops, and buildings Boost efficiency, reduce downtime, and maintain a professional working environment.
Industrial Services
Specialized maintenance and installations for factories and plants — ensuring safety and operational uptime.
Home Service Inspection
Service Areas
Featured Products
-
DNK Yellow Shoes
Men₹150.00Original price was: ₹150.00.₹120.00Current price is: ₹120.00.Rated 0 out of 5 -
Blue Denim Shorts
Women₹150.00Original price was: ₹150.00.₹130.00Current price is: ₹130.00.Rated 0 out of 5 -
Boho Bangle Bracelet
Accessories ₹150.00 – ₹170.00Price range: ₹150.00 through ₹170.00Rated 0 out of 5

Book Service
Online or by call
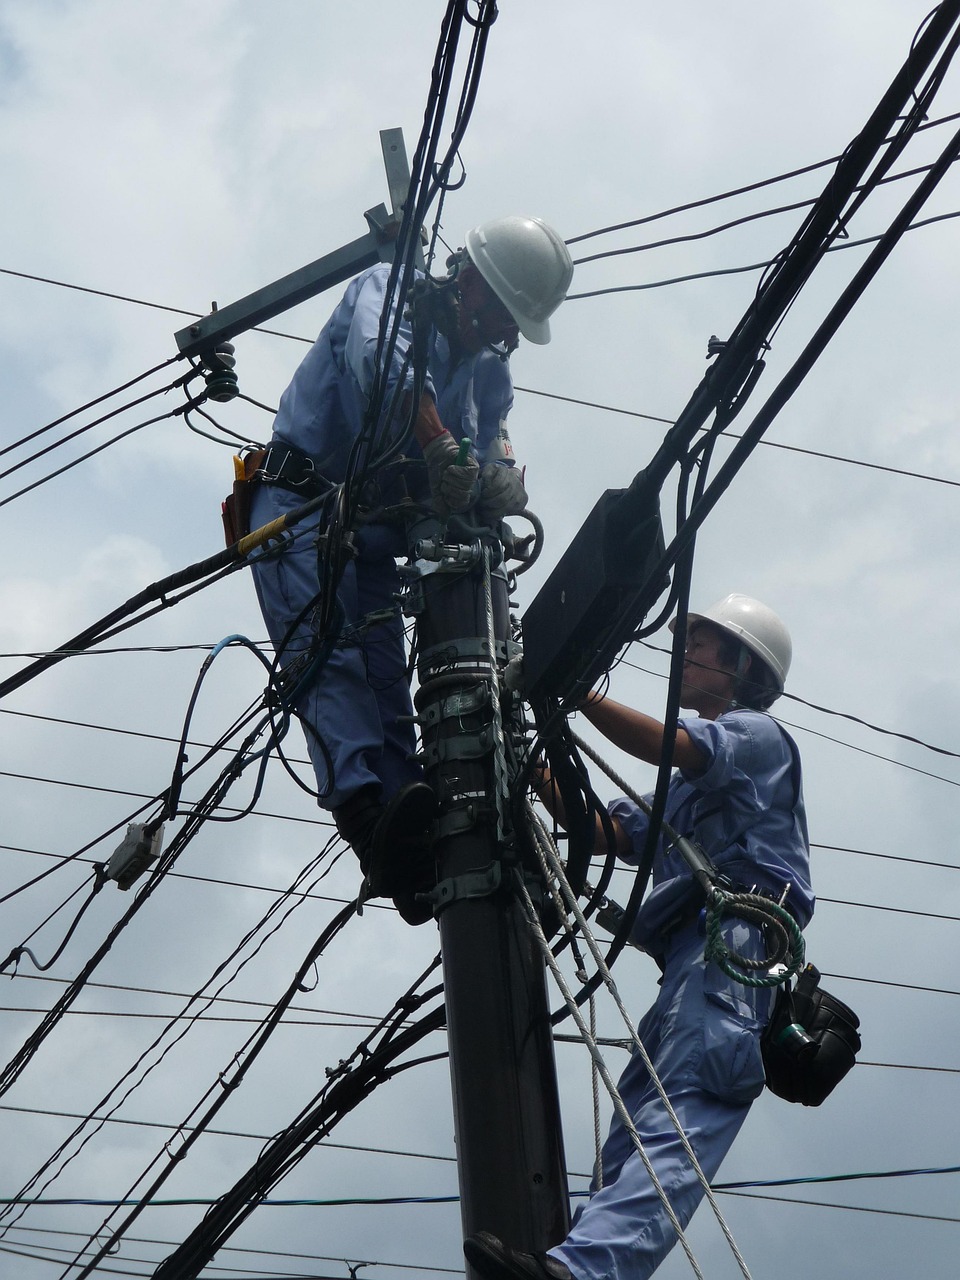
Repair Done
With warranty

Technician Visits
Inspection & diagnosis

Pay Securely
After service completion
What Our Customers Say

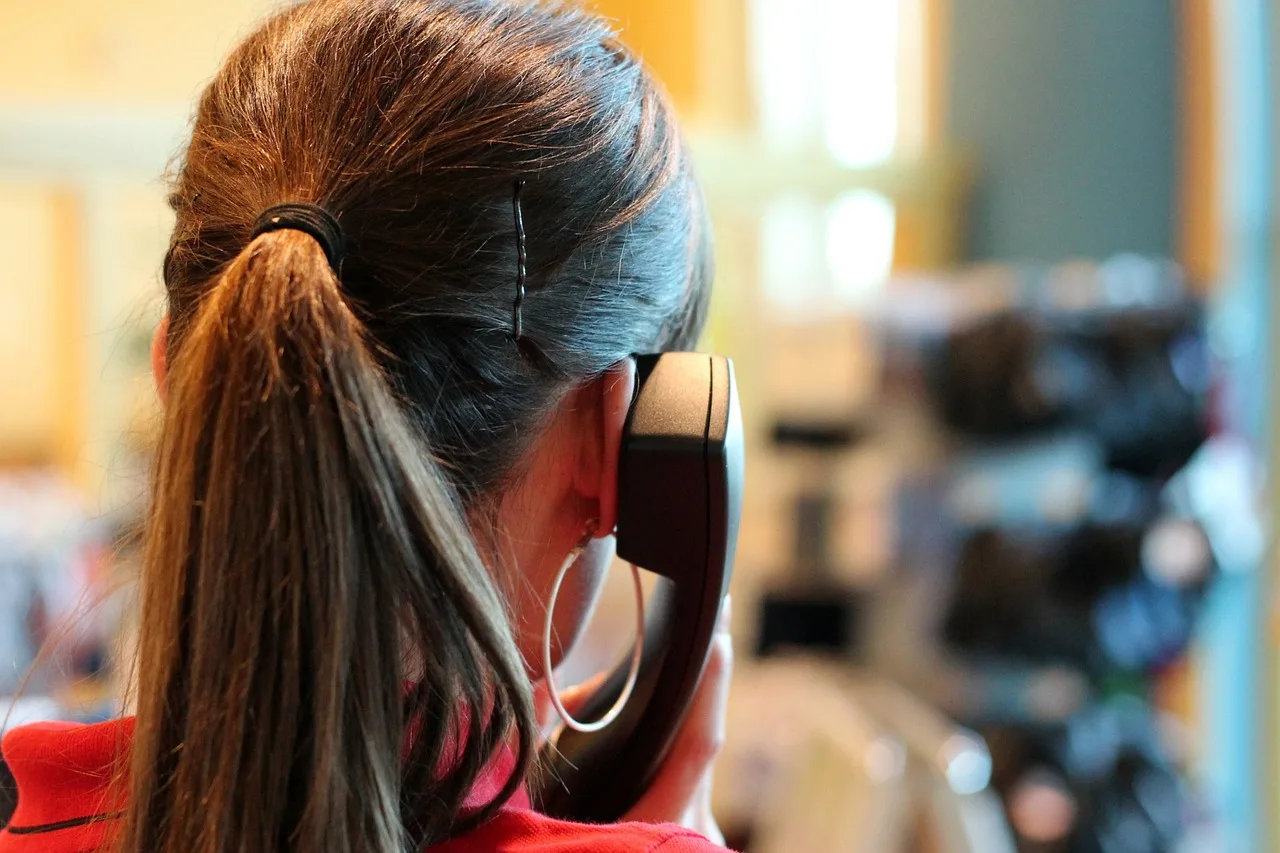


24 Hour Services
Water Purifier Repair
Residential & Commercial
Free Quotations
Honest & Reliable
Building Repair
Get 15% Discount On Your First Service


- Call Today For A Free Estimate

Location
No.103/1 Deverachickkanahalli Main Road Near D-Mart Bommanahalli Bengaluru -560068

Working Hours
10:00 AM – 08:30 PM
Monday – Sunday

Phone Number
+91 9901122653

